
Content
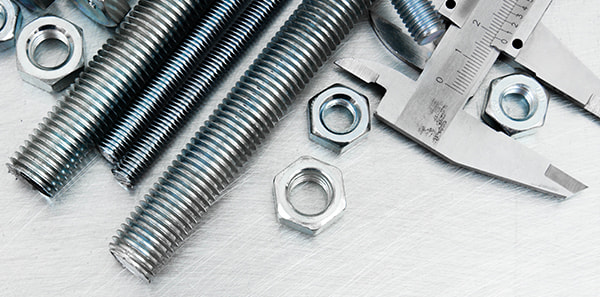
Shaft set screws are critical fasteners used to secure components such as gears, pulleys, collars, and sprockets to a shaft, preventing unwanted axial or rotational movement. While they are simple in design, proper installation is essential to ensure reliable performance, avoid over-tightening, and prevent thread damage. Following best practices not only extends the life of the set screw but also maintains the integrity of the shaft and component.
Before installation, selecting the right type, material, and size of set screw is vital. Shaft set screws come in various tip designs—cup point, flat point, cone point, and dog point—each suitable for specific applications. Choosing the appropriate tip ensures optimal engagement with the shaft, reducing the risk of slippage while minimizing the risk of damage.
Material selection also affects torque tolerance: stainless steel, carbon steel, and alloy steel have different hardness levels, and using a material too soft or too hard for the shaft can cause stripping or deformation.
Proper preparation of the shaft and mating component is crucial:
Using the right tools is a key factor in preventing over-tightening and thread damage:
One of the most critical aspects of set screw installation is applying the correct torque:
Even after proper installation, periodic inspection is important:
Installing shaft set screws properly requires careful attention to screw type, material selection, shaft preparation, tool choice, torque application, and maintenance. Following these best practices helps prevent over-tightening, thread damage, and component misalignment, ensuring reliable performance and extending the lifespan of both the set screws and the machinery in which they are used. Proper installation is not just a matter of tightening screws—it is a critical step in achieving safe, precise, and long-lasting mechanical assembly.
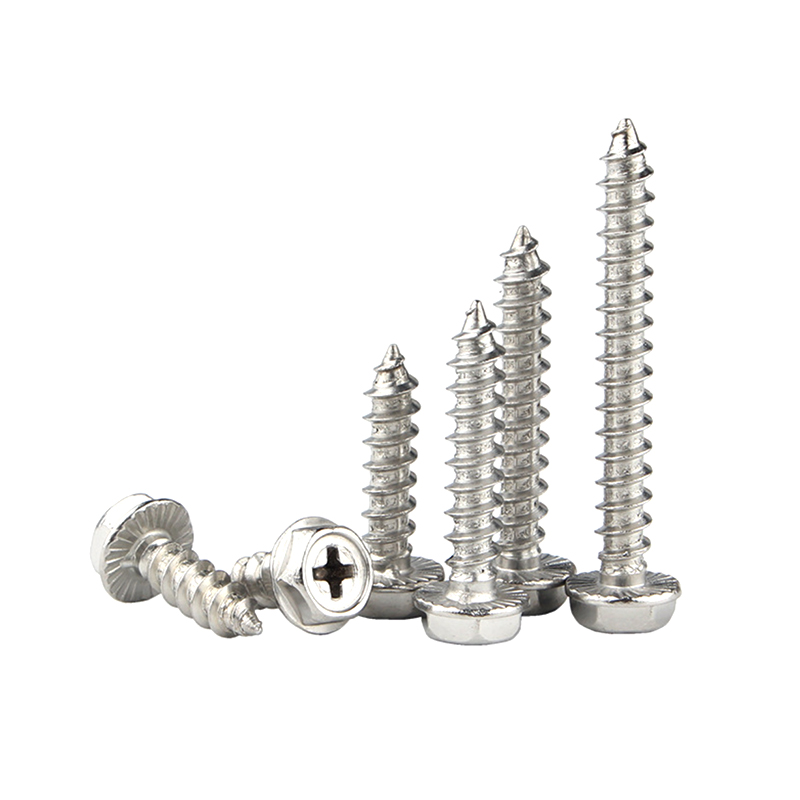 ST3.9*6.5 Galvanized Self Tapping Screws for Metal
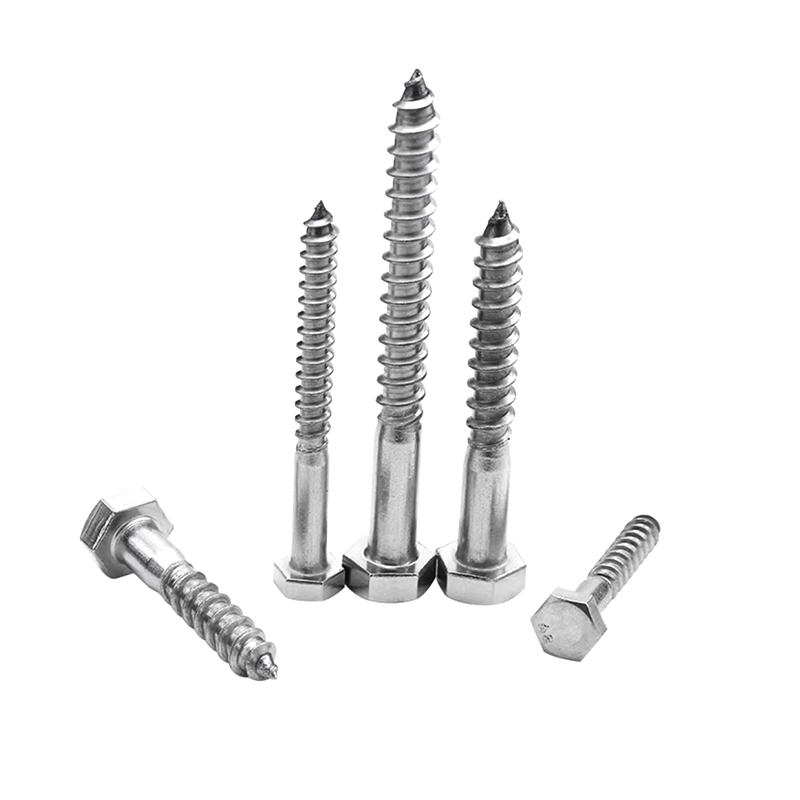 ST5*25 SS316 Hex Head Wood Screws for Woodworking
 M24*200 Alloy Steel High-Strength Bolts for Steel Structure
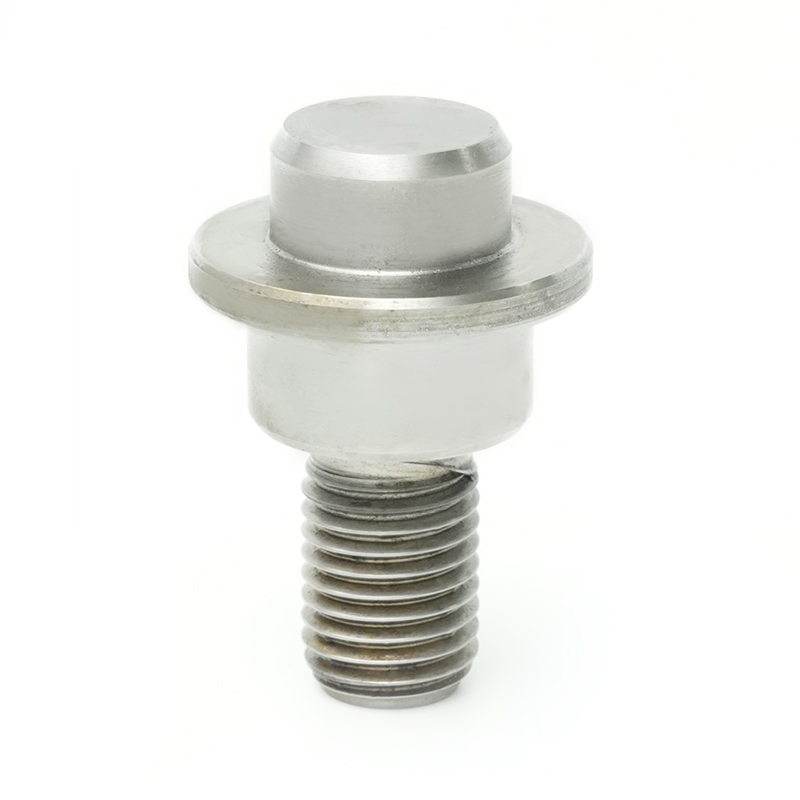
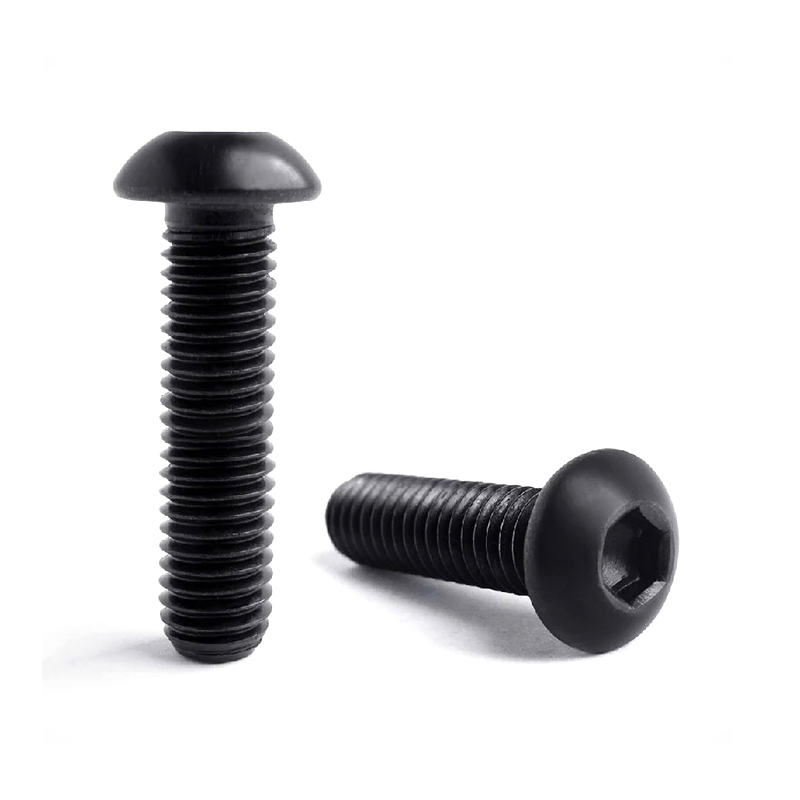 Zinc Plated Carbon Steel Hexalobular Button Head Bolt
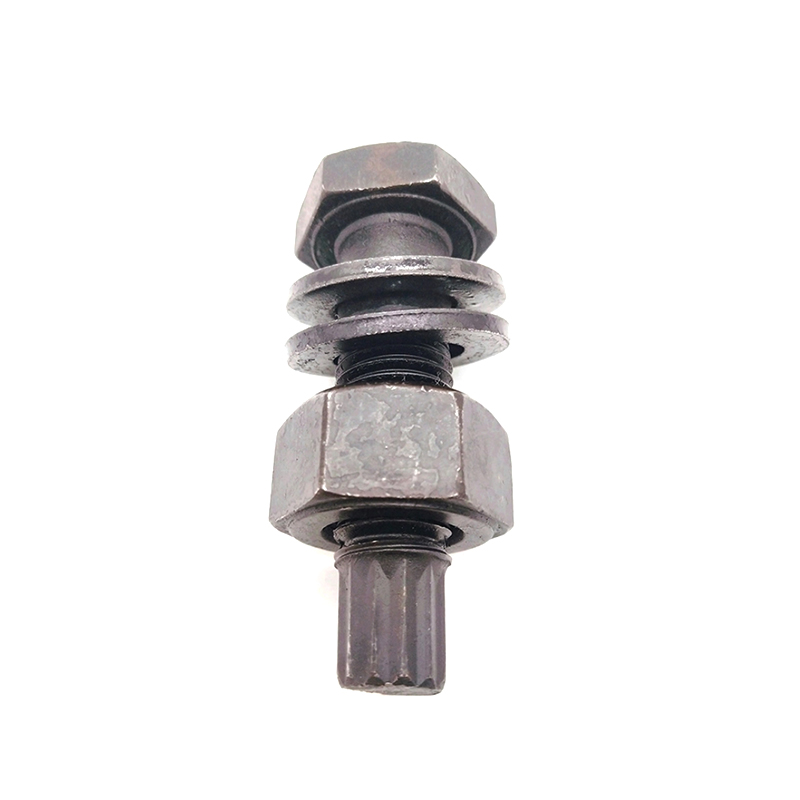
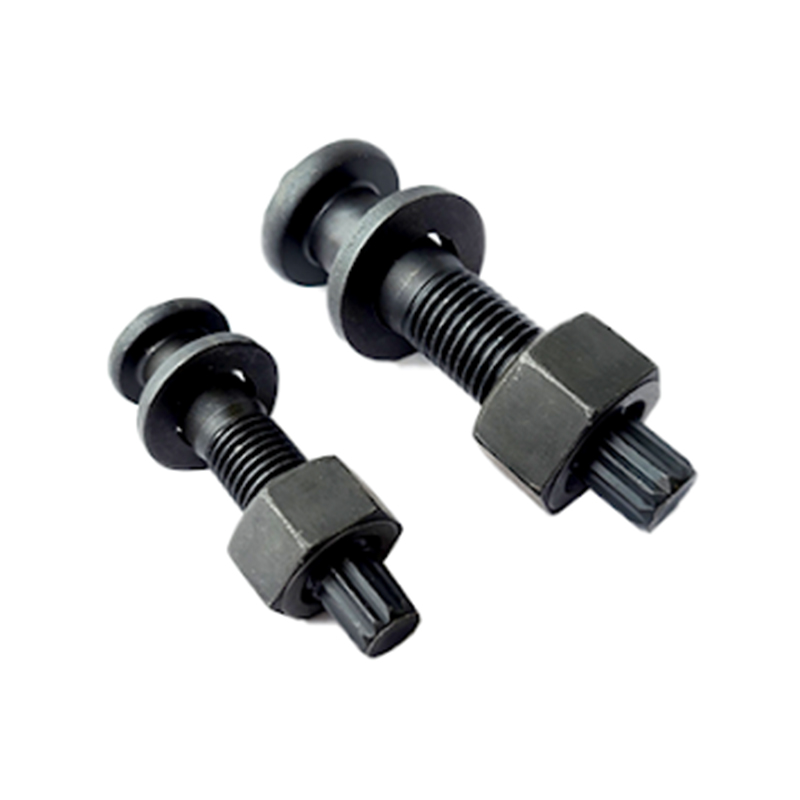 ASTM F2280 A490 Torque Shear Bolt Hot-Dip Galvanized
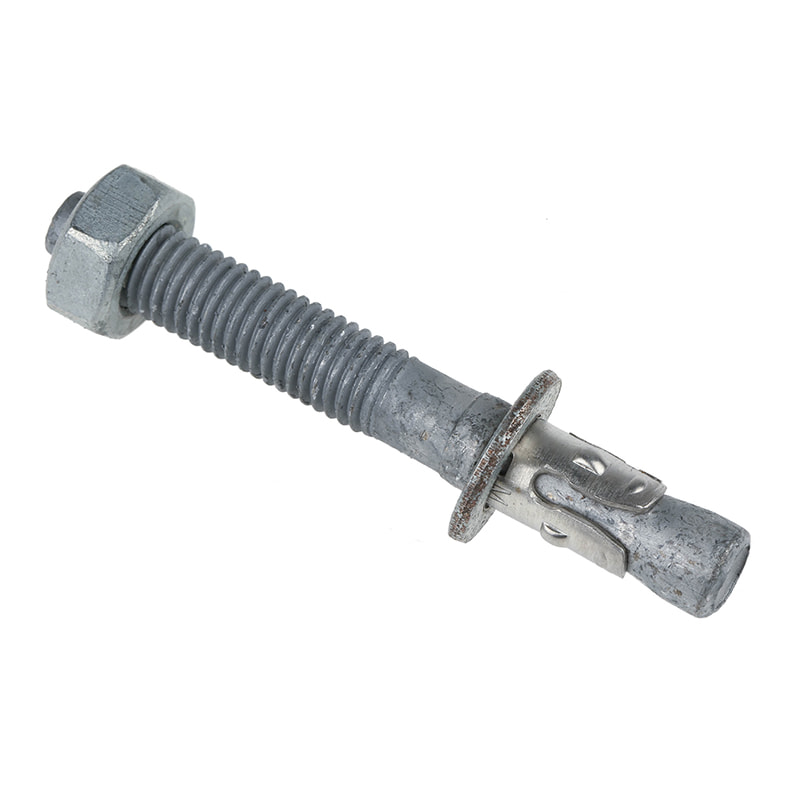 ASTM F1554 Carbon Steel Hot-Dip Galvanized Anchor Bolt
 Contact Information
 Address


 中文简体
中文简体 Português
 Español
 Deutsch
 русский
 عربى
عربى
